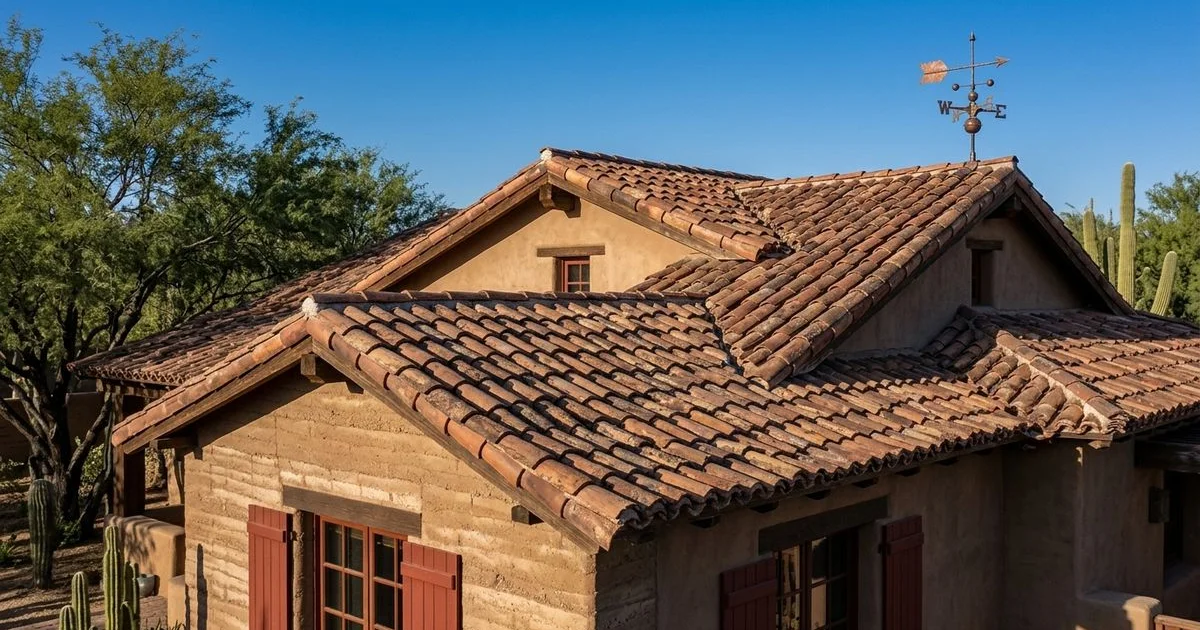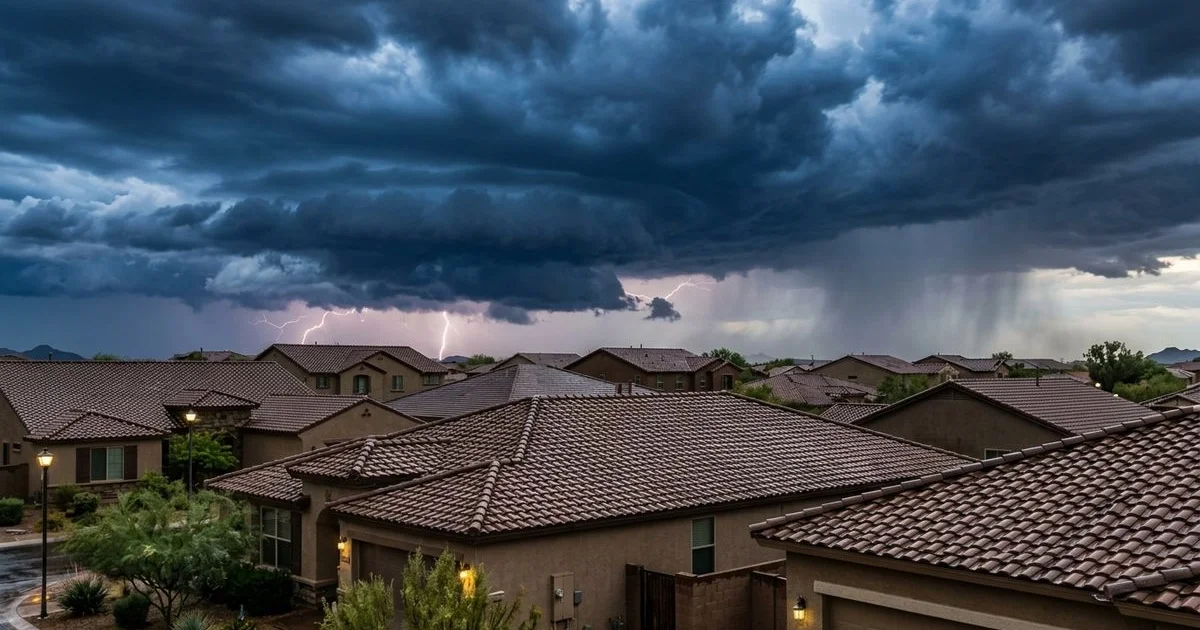
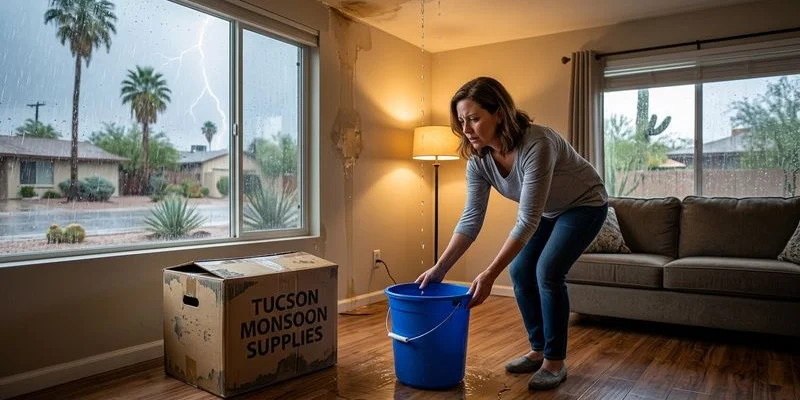
You know how quickly a standard afternoon storm can turn into a living room disaster. A sudden water stain on the ceiling usually triggers immediate panic for any homeowner.
Handling a roof leak? What to do before the roofer arrives (and what not to do) is the most critical question you can ask right now.
Our team at Tucson Roof Gurus, led by Kevin Bayes, has spent 25 years responding to these exact emergency leak calls across southern Arizona. Waiting for professional help during peak monsoon season often takes days. We see firsthand how the actions taken in those first few minutes dictate the final repair bill.
Many instinctive reactions actually make the structural damage significantly worse.
Let’s look at the clear data on water intrusion, discuss the hidden risks, and build a practical plan of action to secure your property.
Roof Leak? What to Do Before the Roofer Arrives (and What Not to Do)
Step 1: Contain the Water
Your first priority is preventing water from spreading to areas where it can cause additional structural damage. Local restoration partners in Tucson currently quote extensive clean-water extractions at $4 to $5 per square foot in 2026. We know that taking fast action minimizes this steep financial hit. The national average cost for water damage restoration is roughly $3,800, but local rates often climb higher during busy storm seasons.
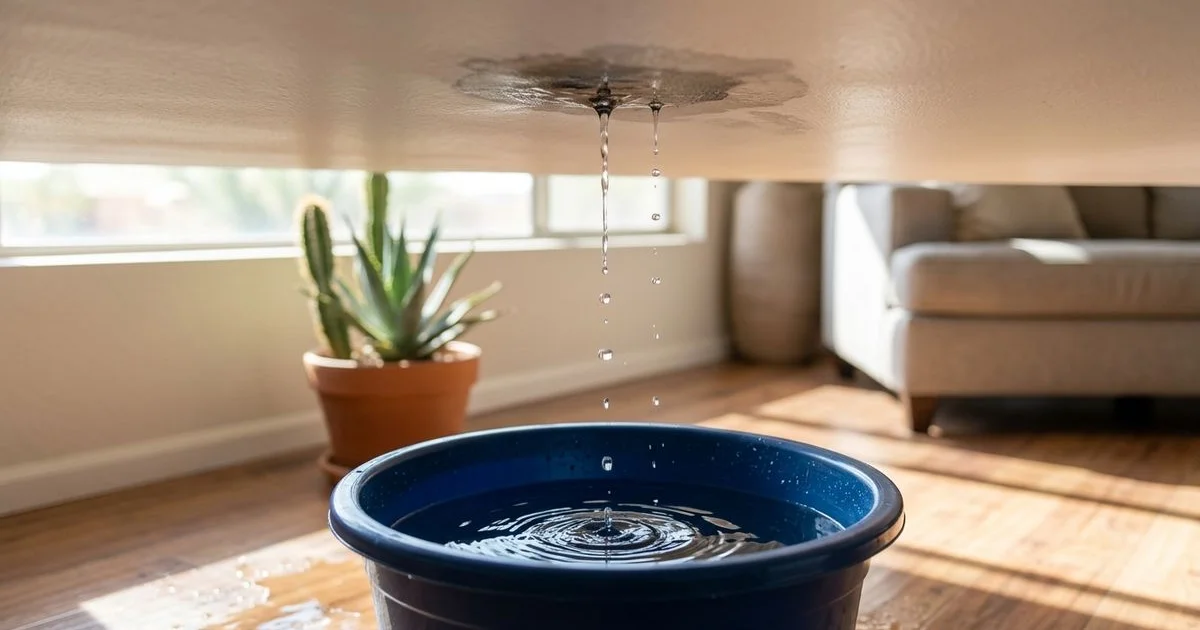
Place large buckets, deep pots, or waterproof containers directly under the drip point. Water often runs along a ceiling surface and drips at a point far away from the actual roof penetration. Tracing the water trail helps you place containers exactly where the dripping is heavily concentrated.
Lay old towels or blankets around the containers to catch stray splashes. A standard 12-gallon Ridgid Shop-Vac is incredibly helpful for quickly removing standing water from hard surfaces. You need to move electronics, furniture, and valuables out of the hazard area immediately.
Step 2: Protect Your Floors and Belongings
If the leak is above a carpeted area, place heavy plastic sheeting or a thick tarp beneath the catch containers. Tucson average summer humidity jumps to between 35% and 45% during peak monsoon season. Our local climate provides the perfect breeding ground for aggressive mold strains like Aspergillus when sudden moisture is introduced.
Dew points frequently hit the mid-60s during these heavy summer storms. Carpet that absorbs water in this humid environment can develop toxic mold within just 24 to 48 hours. We highly recommend using a professional floor protector like Ram Board over hardwood to prevent scratching from heavy wet buckets.
Move upholstered furniture and absorbent area rugs far away from the hazard zone. Hardwood floors require immediate drying to prevent permanent warping and dark staining.
Step 3: Relieve Ceiling Water Buildup
This step feels completely counterintuitive to most property owners. Seeing a large bulge forming in your ceiling means water is pooling heavily above the paint. Our crews see collapsed ceilings constantly because homeowners hesitate to puncture the drywall.
You must release that water in a controlled way if you notice any of these warning signs:
- A visible, growing bulge in the drywall
- Water pooling heavily above the paint
- Loud creaking sounds from the ceiling structure
- Flaking or peeling drywall tape at the seams
One single gallon of water weighs approximately 8.34 pounds. Standard half-inch drywall only weighs about 1.6 pounds per square foot dry, but it turns into a massive, heavy sludge when thoroughly saturated. We have seen 50 pounds of water and wet drywall crash onto living room floors.
Place a large bucket directly underneath the lowest point of the bulge. Carefully puncture the center of the bubble using a standard awl or a 3/8-inch drill bit. A controlled drain through a small hole is far less destructive than a total ceiling collapse.
Step 4: Document Everything
Once the immediate flooding is contained, grab your smartphone and start documenting the scene. Take detailed photos and videos of the leak from multiple angles. We suggest capturing clear shots of the water stain, the drip point, any visible floor damage, and the buckets you placed.
“Pro Tip: If a leak started during a highly specific storm event, logging the exact time and wind conditions can drastically speed up your insurance payout.”
Homeowners insurance policies typically require you to report water damage within 30 days of discovery. Recent 2026 guidelines from the Arizona Department of Insurance remind homeowners that you often have only one year to file a formal suit after a loss. Our insurance experts recommend documenting everything immediately to strongly support your claim.
Using an app like CompanyCam or Hover is a brilliant way to automatically GPS-tag and timestamp your photos. Photograph any personal belongings that sustained water damage. Adjusters process files much faster when you provide exact dates, times, and verified weather conditions.
Step 5: Check the Attic (If Accessible and Safe)
If you can safely access your attic after the storm passes, inspect the underside of the roof deck. Tucson attics routinely reach 120 to 150 degrees Fahrenheit during summer afternoons. We measure temperatures exceeding 160 degrees in poorly ventilated spaces, which easily triggers dangerous heat exhaustion.
Limit your time up there to strictly a few minutes. Use a bright flashlight to look for active dripping, wet spots on the wood framing, or daylight shining through the structure. Wearing an N95 mask is crucial here to avoid inhaling airborne fiberglass insulation particles.
Be extremely careful about where you place your feet. Step only on the wooden ceiling joists, never on the fragile drywall between them. If you cannot safely navigate the space, simply wait for a professional roofer to arrive.
Step 6: Apply a Temporary Exterior Fix (Only If Safe)
A temporary exterior fix can prevent more water from entering during the next passing rain band. The Federal Emergency Management Agency recommends using a 5-mil to 6-mil thick woven polyethylene tarp for emergency roof coverage. We typically utilize heavy-duty Grizzly Tarps because the 8x8 weave resists high wind tearing.
To safely deploy a tarp, follow these strict guidelines:
- Wait until all lightning and rain have completely stopped
- Follow the OSHA 4:1 ladder rule (one foot out for every four feet up)
- Use sandbags or heavy lumber as structural weights
- Extend the plastic four feet past the damage zone
- Never nail directly into the roof deck
Getting on a wet roof carries massive risk, so stay on the ground if you feel unsteady. Our safety protocol requires waiting until the storm has completely passed before climbing any ladder. A fall from an elevated surface will change your life, while ceiling drywall is easily replaced.
Critical Mistakes to Avoid During a Leak
Don’t Ignore a Small Leak
“It is just a few drops, so I will deal with it later” is a phrase that costs homeowners thousands of dollars. Water follows the path of least resistance and enlarges that path with every subsequent storm. We constantly see minor drips evolve into massive structural issues.
“Ignoring a few drops today guarantees you will be paying for structural wood replacement tomorrow.”
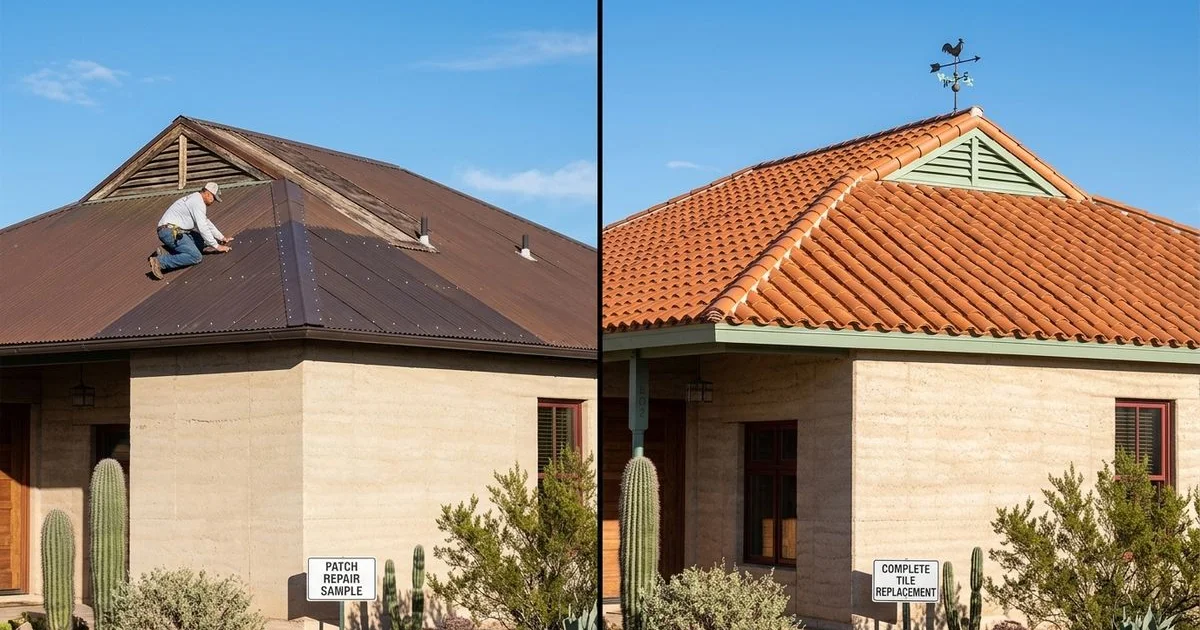
Fixing saturated insulation and structural wood like OSB roof decking is incredibly expensive. Basic drywall repair runs between $1 and $3 per square foot, but replacing rotting trusses costs significantly more. Our cost analysis shows that addressing a leak with prompt roof repair keeps the damage focused strictly on the exterior.
For context on repair costs, see our guide on tile roof repair costs in Tucson.
Don’t Try to Seal the Leak From Inside
Grabbing a tube of caulk to plug the dripping ceiling is a massive mistake. Sealing the drip point from inside your living room does not stop the rain from entering the roof deck above. We frequently find hidden rot because a homeowner tried to use 100% silicone DAP or rubberized spray on the interior ceiling.
The trapped water simply pools up and finds a new, more destructive path down the interior wall framing. Roof leaks must be repaired from the outside at the original source. Interior patchwork only addresses the cosmetic aftermath once the exterior is completely watertight.
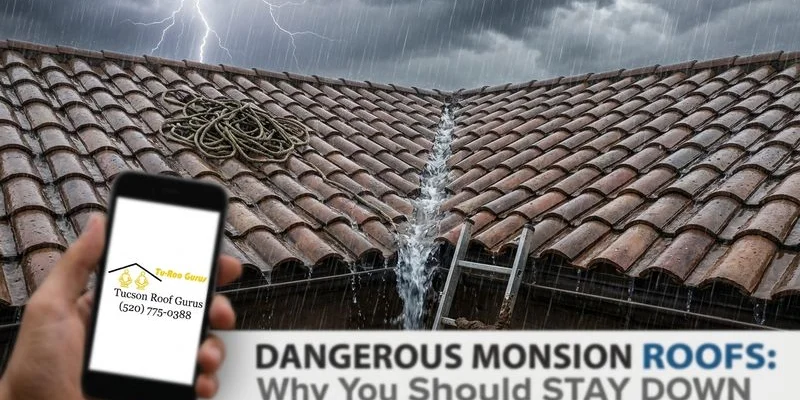
Don’t Climb on the Roof During a Storm
Every single monsoon season features stories of homeowners attempting emergency repairs during active downpours. Wet roofing tiles and asphalt shingles are incredibly slippery. Our local weather data shows that monsoon microbursts create extremely hazardous conditions.
These storms bring dangerous elements you cannot safely navigate:
- Wind gusts frequently exceeding 60 miles per hour
- Unpredictable and deadly lightning strikes
- Slippery, rain-slicked roofing materials
- Blinding dust and heavy downpours
A recent storm in the Tucson Mountains recorded a verified wind gust of 76 mph. Wait for the weather to clear completely before evaluating the exterior. Industry reports show that falls cause over 40% of construction-related fatalities, so do not risk your life for a patch.
Don’t Use Roofing Tar as a Permanent Fix
Hardware store roof cement works fine as an overnight patch, but it fails quickly as a permanent solution. Tucson receives over 300 days of intense sunshine annually. Our intense UV radiation causes basic asphaltic mastic to soften, crack, and degrade within 12 to 24 months.
Products like Flex Seal trap moisture underneath the shingles and can actually void your manufacturer warranty. Applying thick layers of tar also makes the eventual professional repair much more difficult. We have to scrape all that hardened material off before applying the correct underlayment or metal flashing. Use tar sparingly and only if you plan to schedule a real repair soon.
Don’t Wait Until Monsoon Season Ends
Waiting until September to call a roofer is a dangerous gamble. Every passing storm cell dumps more water into the compromised section of your roof deck. Our schedule accommodates emergency visits between rainstorms to patch these exact vulnerabilities.
A minor drip in July can cause severe structural framing damage by the time August ends. Call for professional help immediately. Experienced roofers track the radar and can usually secure your property within a few days.
When to Call a Professional vs. Wait
Deciding whether to request emergency dispatch or wait for a standard appointment depends on the severity of the water intrusion. Review the practical guidelines below to determine your exact next step. Our team uses specific criteria to prioritize service calls during busy weather events.
| Call Immediately If | Schedule Within a Few Days If |
|---|---|
| Water is flowing steadily rather than dripping | The drip is slow and you have contained it effectively |
| You see sagging or bulging in the ceiling in multiple areas | The storm has passed and no rain is forecast immediately |
| There is a visible hole or significant damage to the exterior roof surface | Damage appears strictly limited to a small, isolated area |
| Electrical fixtures or wall outlets are near the active water | Your temporary exterior tarp fix is holding securely |
| The leak occurred during a severe storm and you suspect structural damage | You only notice a faint, dry water stain with no active dripping |
If you are unsure about the safety of your home, always err on the side of caution and request an immediate inspection.
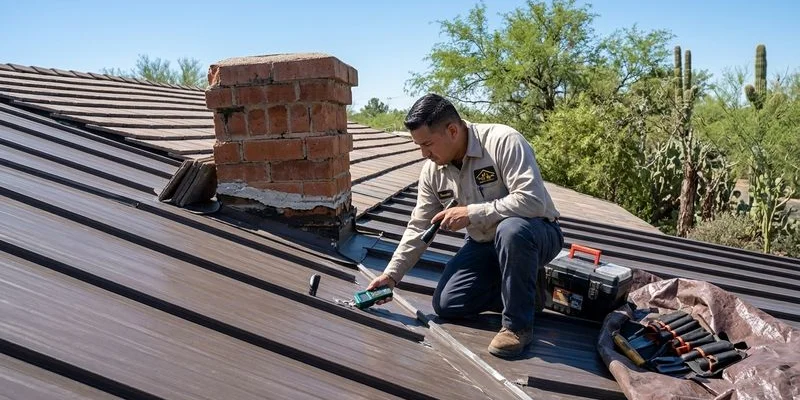
How Your Roofer Will Diagnose the Leak
When professionals arrive to diagnose a residential roof leak, evaluating the interior damage is always the first step. Tracing the water stain helps establish the approximate location and severity of the structural compromise. We often use specialized tools like FLIR thermal imaging cameras to see exactly where moisture is hiding behind the drywall.
Water frequently travels along angled rafters, plumbing pipes, and horizontal beams before finally dropping through the ceiling drywall. For tile roofs, the process involves lifting specific tiles in the suspected area to inspect the waterproof barrier beneath. Our repair crews notice that many tile roof leaks trace back to an underlayment failure rather than a physically broken tile.
For more on this specific issue, read our article on signs your tile roof underlayment is failing.
When evaluating metal and shingle roofs, technicians focus on several key failure points:
- Exposed or backed-out metal fasteners
- Separated valley seams
- Degraded chimney and skylight flashing
- Cracked rubber plumbing boots
Once the true source is identified, the technician will explain the required repair and provide a detailed cost estimate. Most minor patching jobs can be completed the same day or scheduled within that same week.
Be Prepared Before It Happens
The easiest way to manage a roof leak is to stop it before the water ever enters your home. Scheduling a comprehensive pre-monsoon inspection identifies dry rot, cracked sealant, and slipped tiles before the July storms arrive. We highly recommend acting early so you are not caught off guard.
Our preventative roof maintenance programs help property owners avoid the panic of an emergency midnight leak. For a complete preparation checklist, read our guide on preparing your roof for Tucson’s monsoon season.
If you are dealing with an active drip right now, or if you want to get ahead of the weather with a professional inspection, contact Tucson Roof Gurus. We respond quickly, diagnose the true source of the problem accurately, and repair the damage right the first time. That specific commitment to quality has been the foundation of our business for 25 years. Roof leak? What to do before the roofer arrives (and what not to do) is a problem you no longer have to face alone.

Kevin Bayes
Owner, Tucson Roof Gurus
Kevin Bayes has spent over 25 years installing and repairing roofs across southern Arizona. He founded Tucson Roof Gurus to bring honest, owner-operated roofing services to the community.
Free Roofing Estimate
Need help with your roof? Call us for a no-obligation estimate.
(520) 775-0388